Properly preparing your home for interior painting is the most important step in achieving a smooth, long-lasting, and professional-looking finish. In fact, preparation can account for up to 70% of the overall quality of a paint job. Whether you're planning to DIY or hire a professional in Warrensburg, MO, following the right prep process ensures better results and fewer problems down the line.
This step-by-step guide walks you through exactly how to prepare your home for interior painting, what to avoid, and how to make the process faster and more efficient.
Why Preparation Matters More Than Painting Itself
Many homeowners focus on color selection—but preparation is what determines how the paint actually performs.
Without Proper Prep, You Risk:
- Peeling or cracking paint
- Uneven coverage
- Visible imperfections
- Shorter lifespan
With Proper Prep, You Get:
- Smooth, clean finishes
- Better paint adhesion
- Longer-lasting results
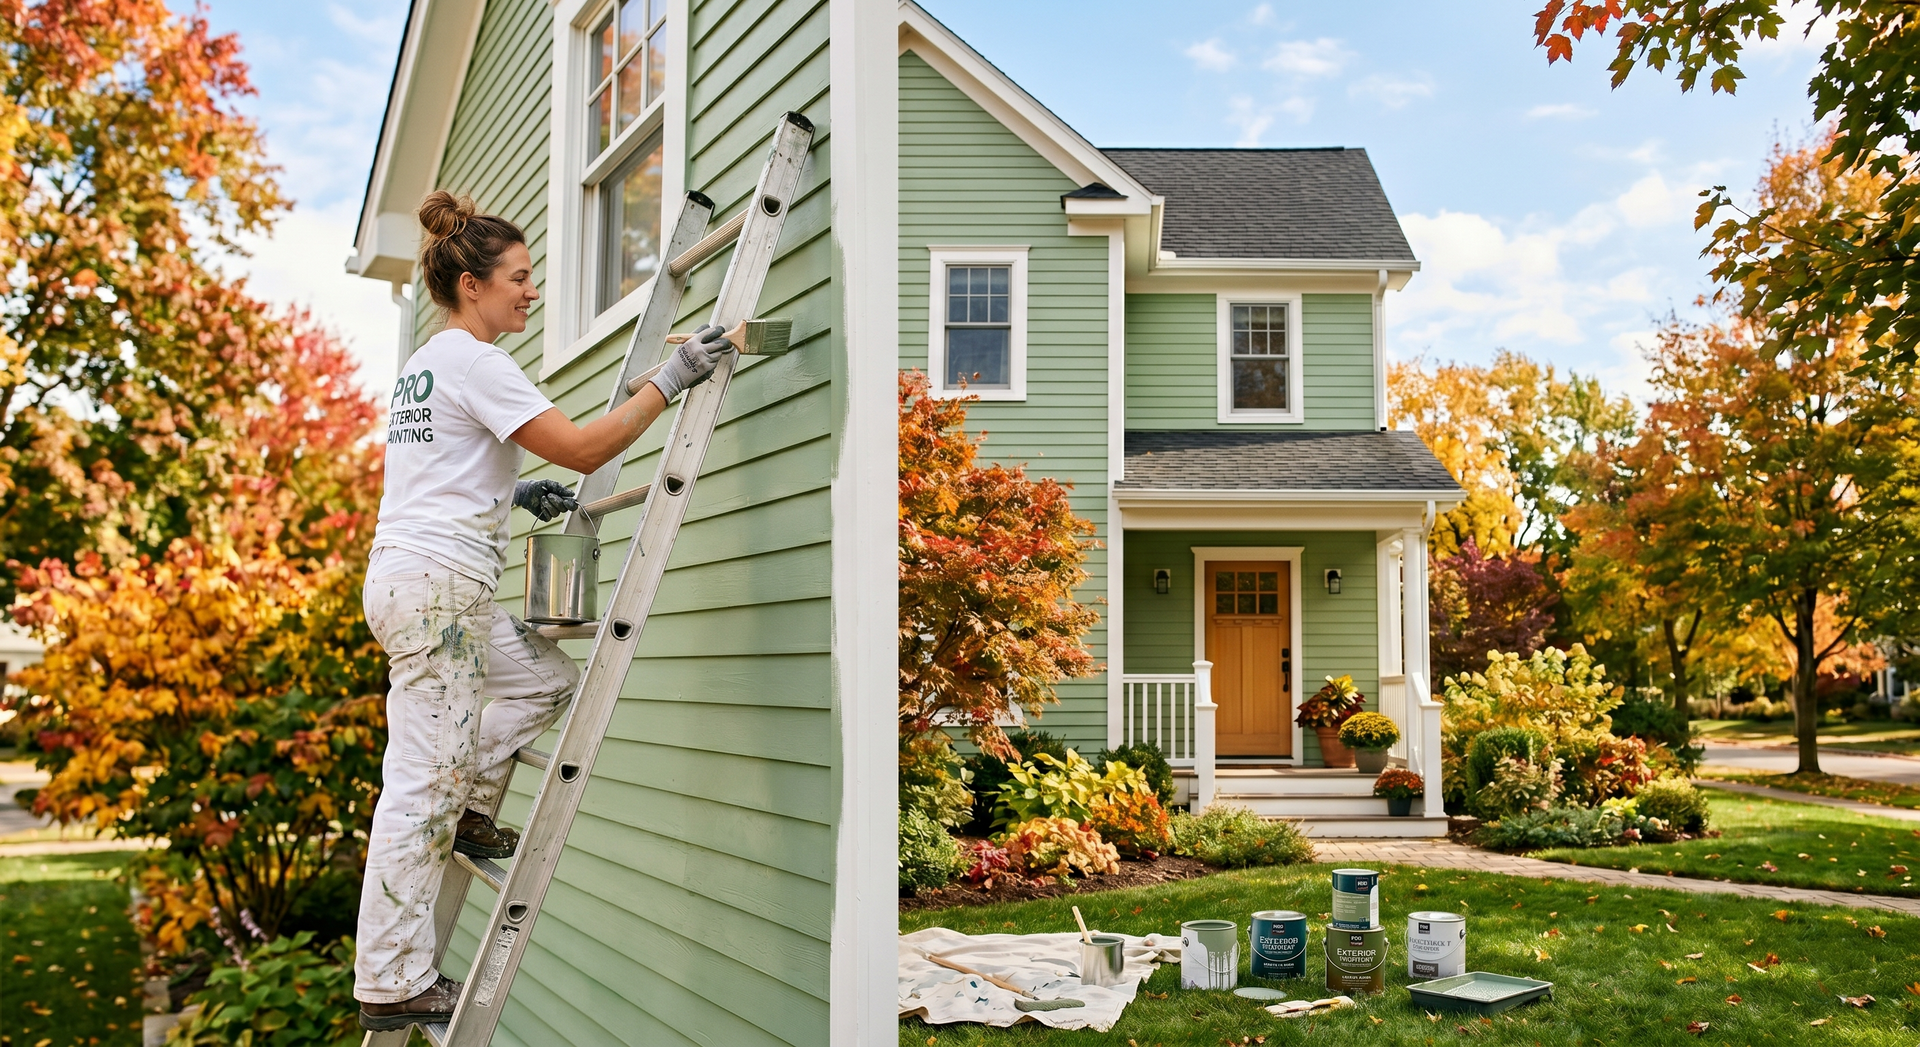
Professional painters, like
[Stratton Painting LLC –
https://strattonpaintingmo.com], spend a significant portion of time on prep work because it directly impacts quality.
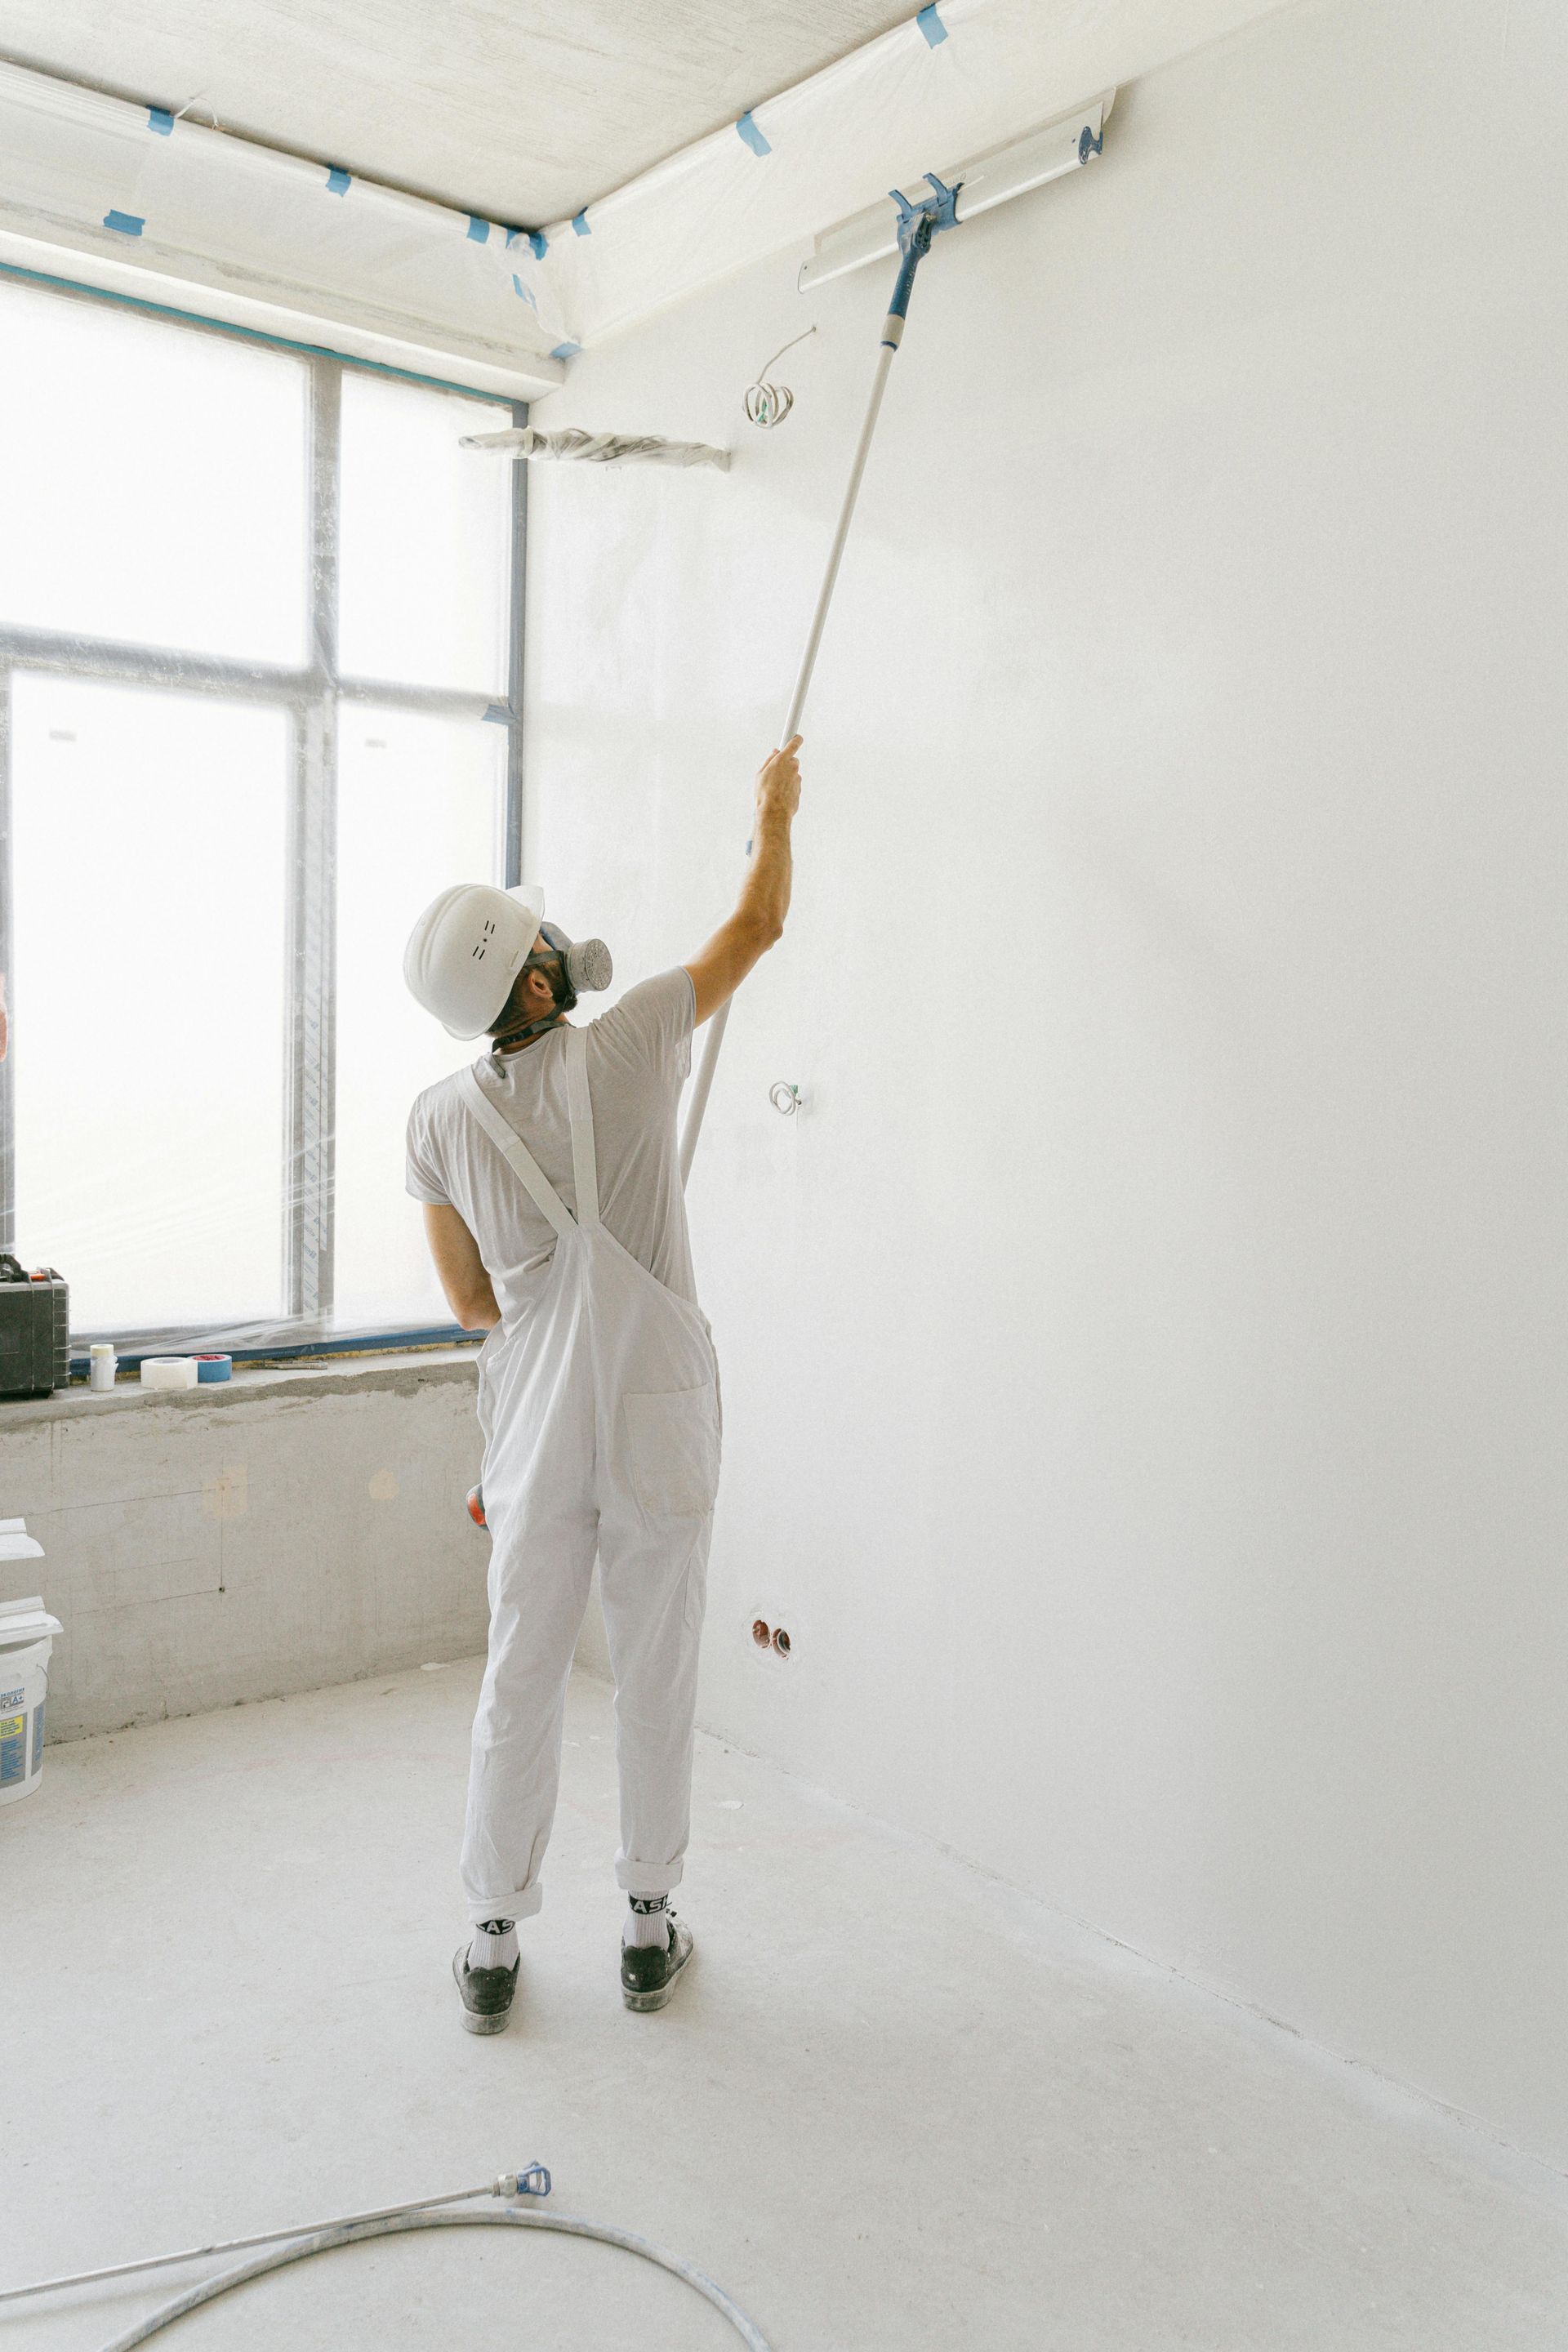
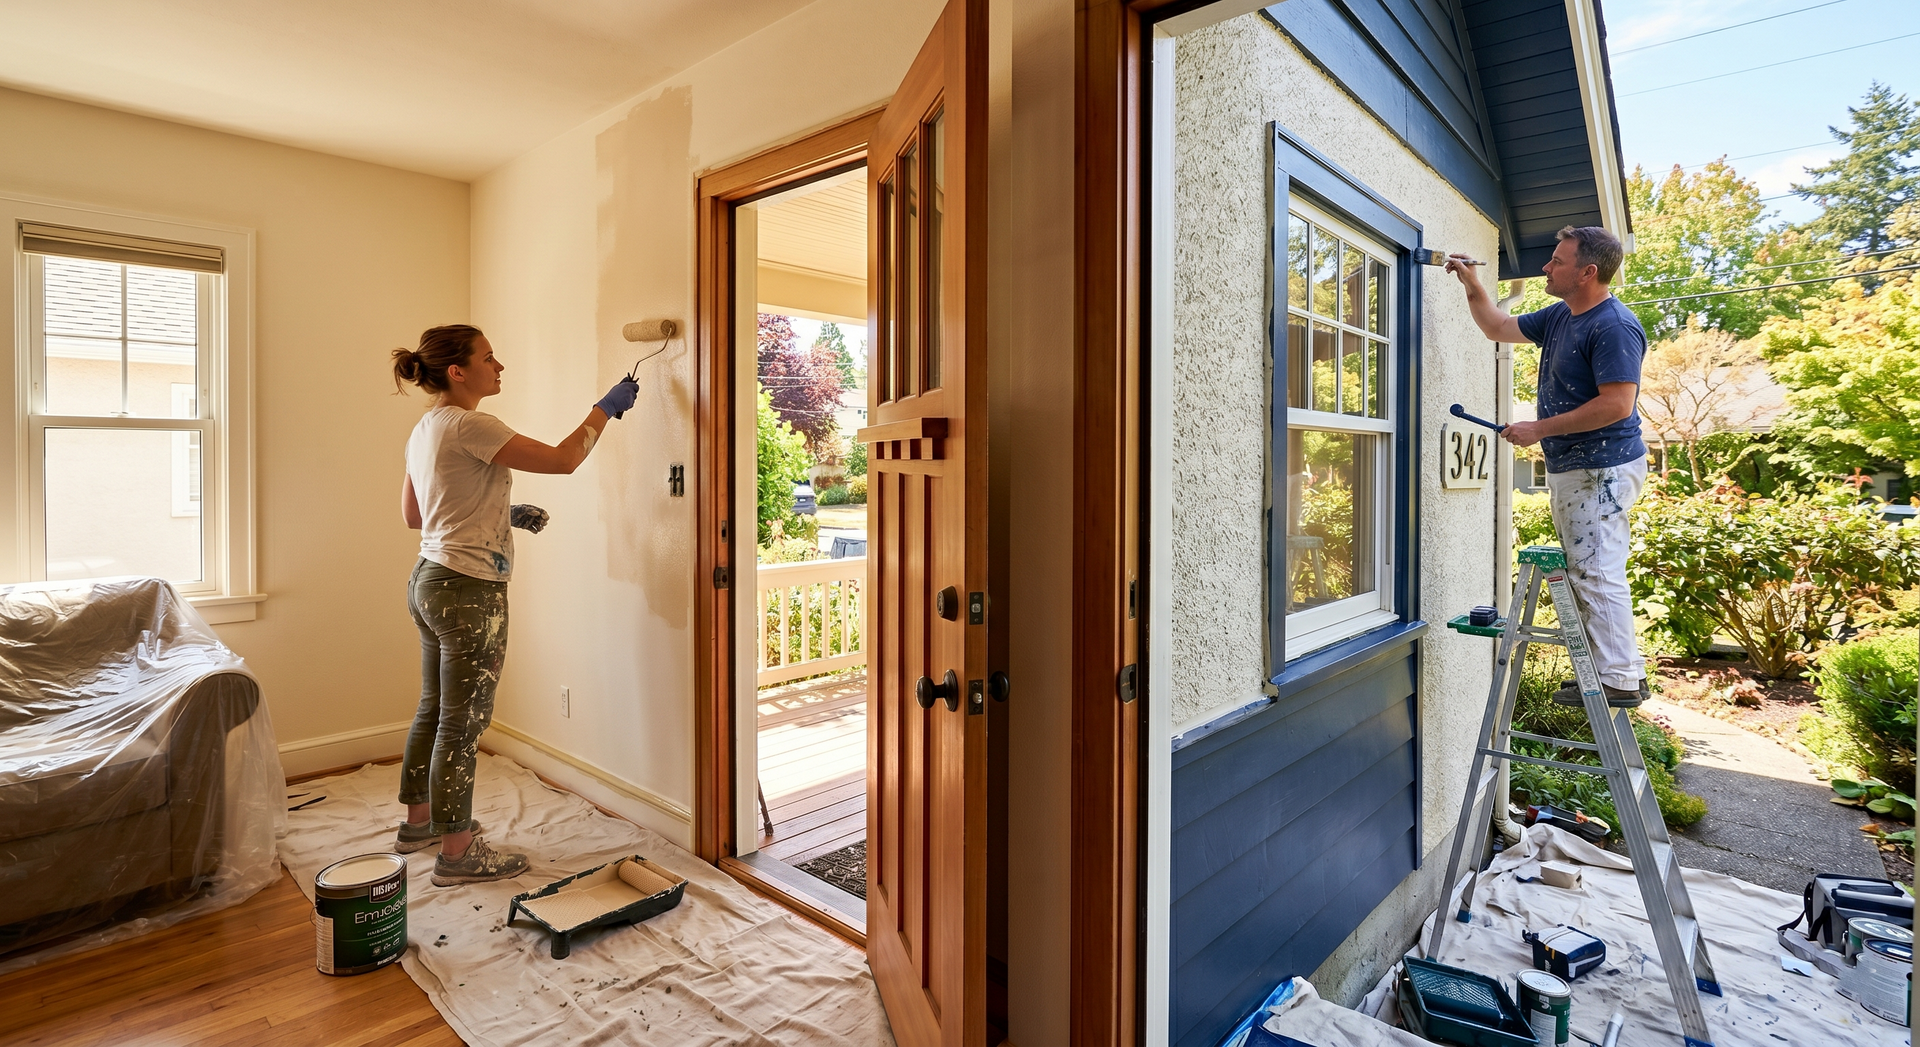
Step 1: Clear and Protect the Space
Before any painting begins, you need to create a clean, open workspace.
What to Do:
- Remove furniture from the room (or move it to the center)
- Take down wall décor, curtains, and shelves
- Remove outlet covers and switch plates
Protect Your Belongings:
- Use drop cloths or plastic sheeting
- Cover floors, furniture, and fixtures
Pro Tip
Label screws and hardware in small bags so nothing gets lost during reinstallation.
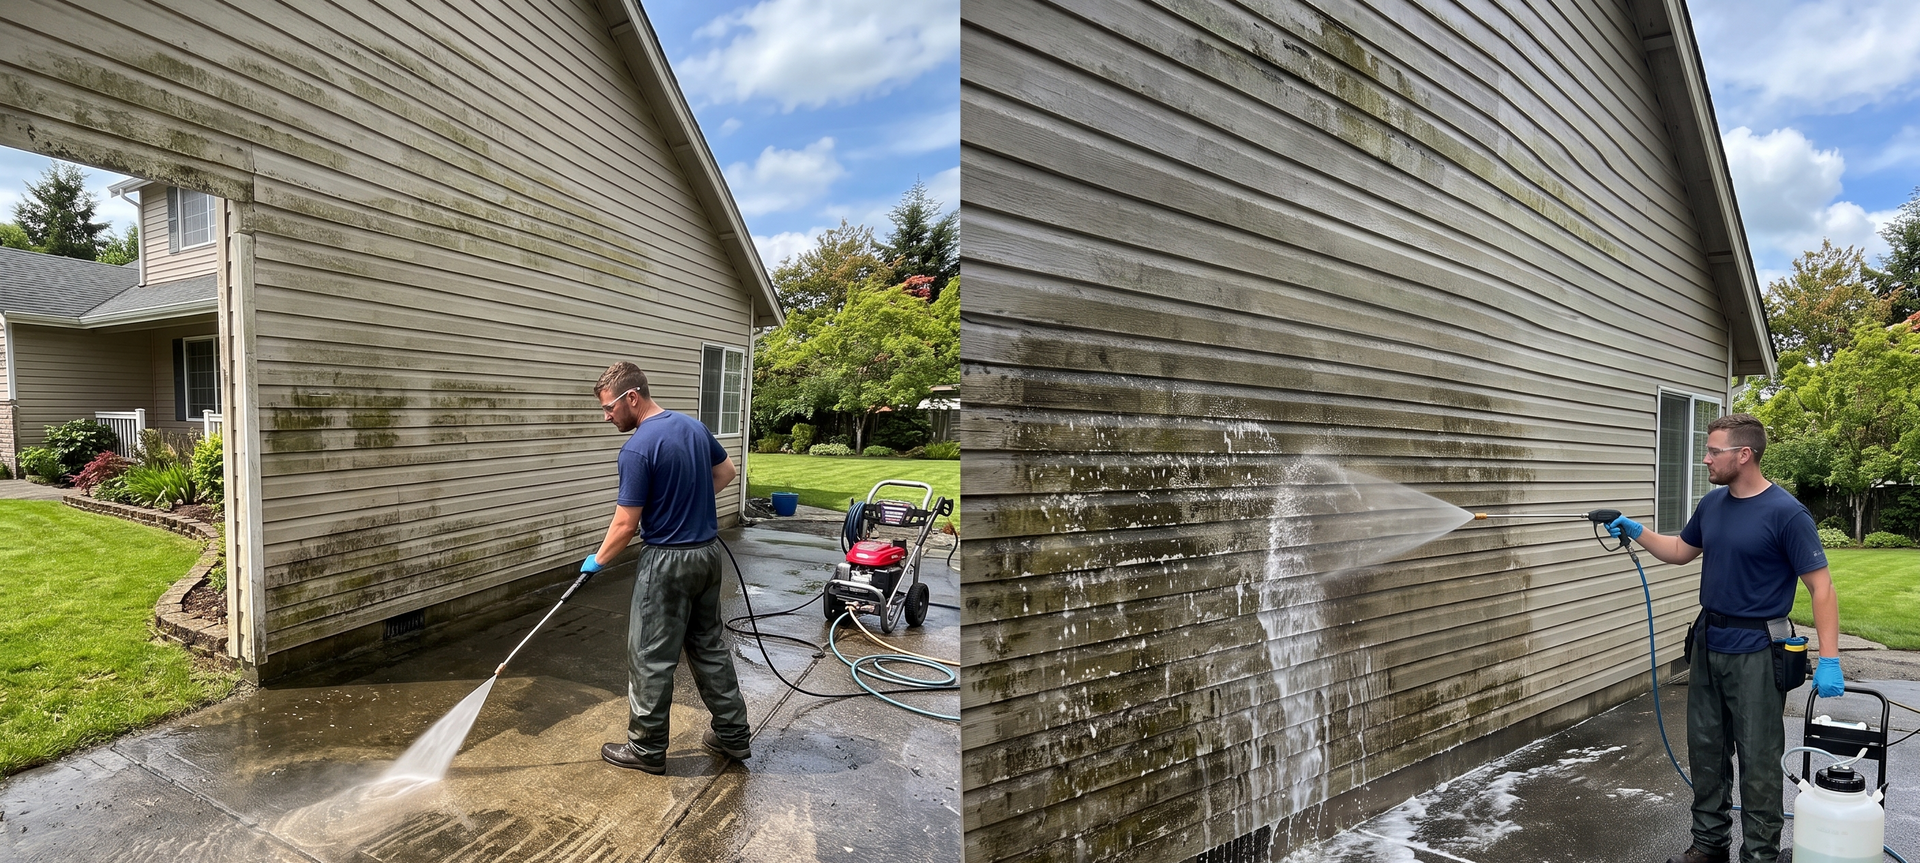
Step 2: Clean the Walls Thoroughly
Paint doesn’t stick well to dirty surfaces. Even if walls look clean, they often have:
- Dust
- Grease
- Fingerprints
- Residue buildup
How to Clean Walls:
- Use a mild soap and water solution
- For kitchens, use a degreaser
- For tough stains, use a sponge or soft scrub
Important
Allow walls to dry completely before moving to the next step.
Step 3: Repair Any Surface Damage
This step is critical for achieving a professional finish.
Look for:
- Nail holes
- Cracks
- Dents
- Peeling paint
How to Fix Them:
- Use spackling compound for small holes
- Apply joint compound for larger repairs
- Sand smooth once dry
Local Insight
Homes in Warrensburg—especially older properties—often have minor drywall imperfections that need attention before painting.
Step 4: Sand Surfaces for Smoothness
Sanding creates a surface that paint can adhere to properly.
When to Sand:
- After patching holes
- On glossy surfaces
- When repainting over old layers
Tools to Use:
- Fine-grit sandpaper (120–220 grit)
- Sanding blocks or electric sanders
Result
A smoother surface = a more professional-looking finish.
Step 5: Tape and Mask Edges
Clean lines are what separate amateur paint jobs from professional ones.
Where to Apply Painter’s Tape:
- Baseboards
- Window trim
- Door frames
- Ceiling edges
Tips for Best Results:
- Press the tape firmly to prevent bleeding
- Remove tape before the paint fully dries
Step 6: Prime the Walls (When Needed)
Primer is often overlooked—but it’s essential in many situations.
Use Primer If:
- You’re covering dark colors
- Walls have stains
- You’ve repaired drywall
- You’re painting new surfaces
Benefits of Priming:
- Better paint adhesion
- More even color
- Fewer coats needed
Step 7: Choose the Right Paint and Finish
Before painting begins, ensure you’ve selected the right materials.
Common Interior Finishes:
- Flat: ceilings and low-traffic areas
- Eggshell: living rooms
- Satin: high-traffic areas
- Semi-gloss: kitchens, bathrooms, trim
Local Tip
In Warrensburg homes, moisture-resistant paints are especially important for kitchens and bathrooms due to humidity.
Step 8: Ensure Proper Ventilation
Good airflow is essential during painting.
Why It Matters:
- Helps paint dry faster
- Reduces fumes
- Improves air quality
How to Ventilate:
- Open windows
- Use fans
- Turn on HVAC systems if needed
Step 9: Plan Your Painting Order
A professional approach follows a specific order:
- Ceilings
- Walls
- Trim and baseboards
This prevents drips and ensures clean results.
Step 10: Check Lighting Conditions
Lighting can affect how paint looks.
Tips:
- Test colors in natural and artificial light
- Paint sample patches before committing
Common Preparation Mistakes to Avoid
Even small mistakes can ruin a paint job.
Top Mistakes:
- Skipping cleaning
- Not repairing walls
- Using cheap tape
- Painting over dust or grease
- Rushing the prep process
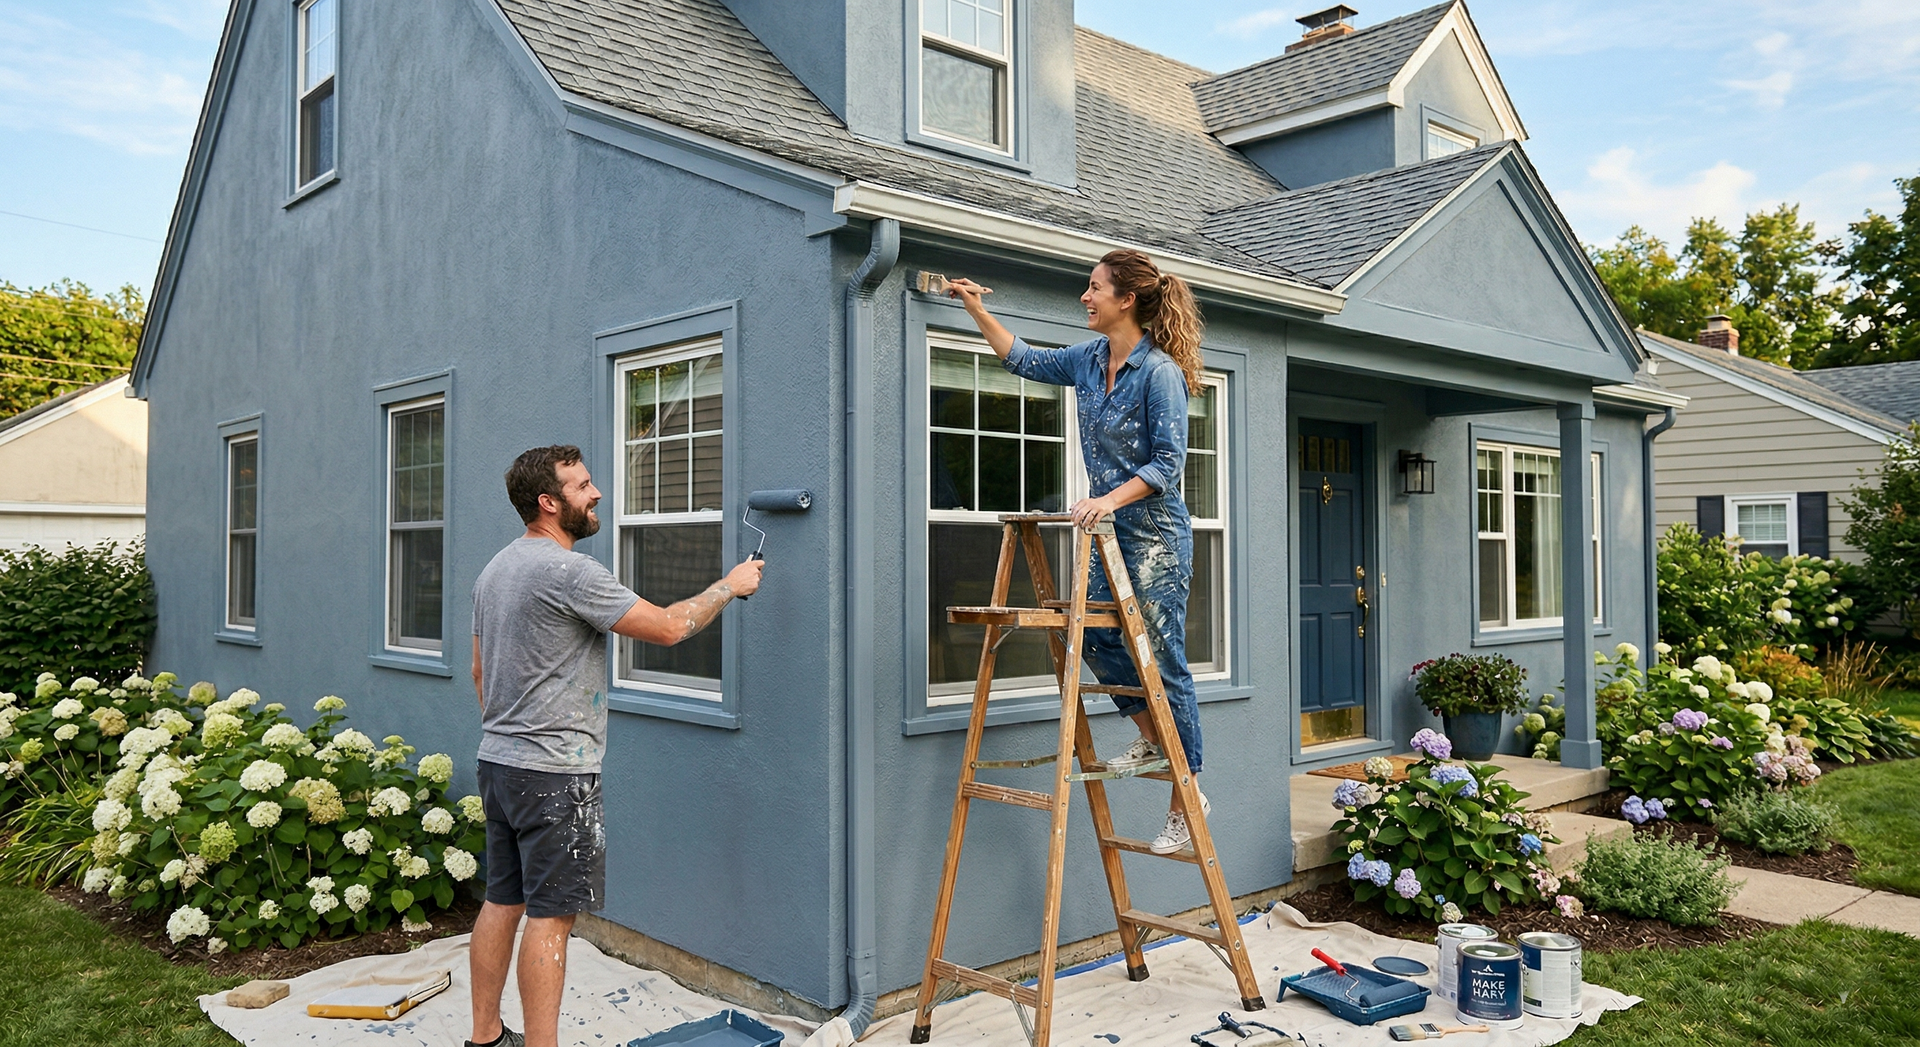
DIY vs Hiring a Professional for Prep Work
While some homeowners handle prep themselves, professionals offer:
- Faster completion
- Better surface preparation
- Higher-quality results
Working with a local expert like
Stratton Painting LLC ensures everything is done correctly from the start.
How Long Does Preparation Take?
Prep time depends on the condition of your home:
- Light prep: a few hours
- Moderate prep: 1–2 days
- Extensive repairs: several days
FAQs About Interior Painting Preparation
Do I really need to clean walls before painting?
Yes—paint won’t adhere properly to dirty surfaces.
Can I skip primer?
Only in certain cases. Primer is recommended for the best results.
How much prep work is too much?
There’s no such thing—more prep leads to better results.
Should I move all the furniture out?
It’s ideal, but if not possible, move everything to the center and cover it.
Get Professional Interior Painting in Warrensburg, MO
If you want flawless results without the hassle, let the experts handle it.
Stratton Painting LLC provides full-service interior painting—including all prep work—for homeowners in Warrensburg, MO and surrounding areas.
Call Now: (660) 221-2047
Email: jstrattonjr@gmail.com
Or visit: [Stratton Painting LLC –
https://strattonpaintingmo.com]